farnetti
Western Thunderer
I bought this during the build of the 13 ton wagon and David assured me it would be much quicker and easier to complete. I didn't find the last one particularly difficult as everything is so accurately etched.
The instructions follow a very similar sequence and would be easy to fall into the trap of thinking it is so alike that they are superfluous. These are very detailed kits and constant reference to the notes and drawings is necessary to understand how the parts go together and to plan ahead. I made some errors on the last kit which fortunately don't show except under close scrutiny.
I aimed to do better this time but just realised I forgot to take pictures of the frets and other components before starting. Oh well.
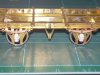
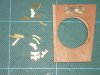
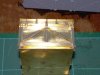
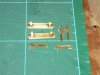
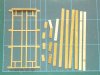
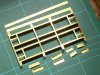
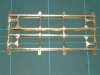
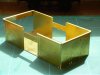
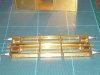
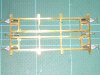
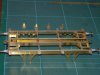
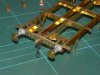
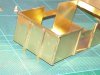
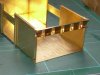
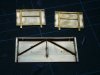
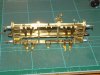
Photos here show the basic chassis parts folded and laid out ready for soldering, inner and outer solebars and crossbeams assembled, and rest of the parts added with the bracing plates and brake hanger brackets added. (If you are going to build this please note that the brake hanger brackets are orientated incorrectly on drawing 1, drawing 3 shows them facing the correct way). Finally the body folded up with the piece across the top of the end door soldered in place.
The instructions follow a very similar sequence and would be easy to fall into the trap of thinking it is so alike that they are superfluous. These are very detailed kits and constant reference to the notes and drawings is necessary to understand how the parts go together and to plan ahead. I made some errors on the last kit which fortunately don't show except under close scrutiny.
I aimed to do better this time but just realised I forgot to take pictures of the frets and other components before starting. Oh well.
Photos here show the basic chassis parts folded and laid out ready for soldering, inner and outer solebars and crossbeams assembled, and rest of the parts added with the bracing plates and brake hanger brackets added. (If you are going to build this please note that the brake hanger brackets are orientated incorrectly on drawing 1, drawing 3 shows them facing the correct way). Finally the body folded up with the piece across the top of the end door soldered in place.
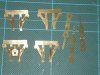


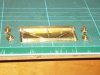
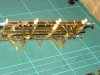


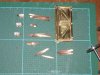
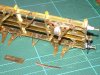
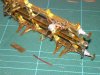

 I found that as the instructions suggest the leaves are a very right fit. However once you get a method and the first done the rest are straightforward. I removed all the leaves from the sprue at once and cleaned up as a job lot. When cleaning the leaves up I made sure all remnants of the etching burr was removed and each leaf was polished with wet and dry so they are as smooth as possible. I then took the pocket and using a square file made sure there was no excess solder or burr on the inside, you have to be careful here though as it has to retain its strength. Finally I built up the assembly by doing opposite to the instructions and fitting the largest first and then working to the smallest, working the leaves side to side. For example with number six fitted the whole lot should be offset and then pull the lot on together. I found this works well once perfected rather than trying to feed the last one in on its own. Also be careful of flattening the springs out as you end up with an assembly that doesn't look right. The spring needs to retain its prototipical curve with room to travel between the top of the pocket and solebar stop.