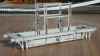
Dikitriki
Flying Squad
The bearings were closed up and soldered in to fix the wheels - the clearance is very tight! The well tank works out at 30.5mm in width.
Hmm, that seems to put the kybosh on F/S then.

The bearings were closed up and soldered in to fix the wheels - the clearance is very tight! The well tank works out at 30.5mm in width.
Hmm, that seems to put the kybosh on F/S then.
 ).
).
 .
. Hi Adrian, very nice work. Lots of rivets mmmm bet that was nice n easy
I look forward to your next progress report.
Rob

Just as quick with one I made myself! Although the half etched dimples helped as well.Takes just a few minutes with a GW Models riveting tool!


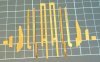
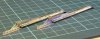
This weeks job will be to finish off the right hand pair!!
 - managed to grab a few hours at the workbench.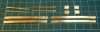
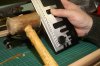
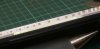
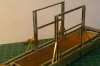


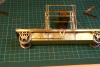
So all fitted in place, note the orientation of the angle pieces and the rivets on the inside.

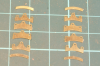

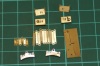
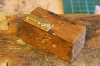
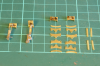
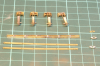


Dare you.....You never know I may even manage to get it finished before the end of the year!!
 . I look forward to seeing it painted and weathered
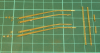
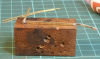
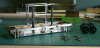
There was also a small hand rail to be added above the lefthand W iron. These were apparently fitted on the LMS version but not the BR version so there are no markings on the etchings for a drilling guide. There are a couple of rivets close by and so I pop-marked just to the inside of these to drill the holes so that the rivets represent the clamping bolts for the handrail. I suspect for the BR version these half etched rivets should not be punched through.quote
That's where I went wrong then, I was reading the instructions.That is partly true for the BR version - the outer one is a rivet and the inner one should not be pushed through - but in the context of the LMS version these are not rivets - they are actually the marker holes etched in the rear of the solebar for drilling out the handrail fixing holes which you say we do not provide - these are clearly shown on the assembly drawings.
 There was nothing in there about drilling holes and I was just merrily punching half etched holes through as rivets. It wasn't a problem and soon sorted.